
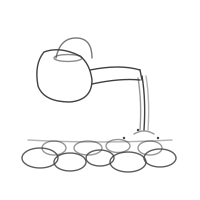
Kneipp knee pour: preparation and sequence
A cold lower-leg pour in the Kneipp tradition. First establish whether the practice is suitable for you, allowing time for preparation and warming up afterwards.
Steps
Have the full pour demonstrated
Learn the complete pour from a trained Kneipp instructor. The linked Austrian Kneipp association guide describes separate rear and front routes. An improvised circuit around the knee is not an equivalent substitute.
Prepare securely
Start only with warm legs and established suitability. Ensure stable, slip-resistant footing and clear drainage. Use a pouring attachment or hose with gentle flow. A watering can or forceful shower spray is not a substitute.
Follow the named sequence
The route starts up the outside of the right leg to the back of the knee and down the inside. The left side includes crossings between the backs of both knees. A separate front sequence follows, then the soles. Use the full linked instructions and personal demonstration for the exact route and repetitions, not a generic ninety-second target.
Finish and warm up
Wipe off water and dry between the toes. Move to warm up and put on warm socks if needed. There is no guaranteed ten-minute warming time. Stop if unwell and seek medical advice if symptoms persist.
Skip the cold pour with diabetic neuropathy or other reduced temperature sensation in your legs. A hand check or shorter exposure does not establish suitability. Also skip it if you are cold or feverish, or have open wounds, arterial circulation problems in the legs or acute kidney or bladder problems. Seek medical advice first with cardiovascular disease, blood-pressure problems or Raynaud. This guide does not establish suitability for children, pregnancy or breastfeeding. Do not continue to meet a fixed time if you feel cold, pain or discomfort.
Cold knee pour: sequence and exclusions from the Austrian Kneipp association